This will be a tutorial on replacing the seals on a Walther LGR SSP rifle. This particular example has been stored for many years without being used. There was no perceptible movement of air upon moving the pump arm and the loading port seals were obviously «toast». I’ll be writing this tutorial in English to benefit the greatest number of seekers of info on rebuilding this rifle as possible. There is a dearth of information on rebuilding this rifle, hopefully this humble attempt will fill in some of the gaps on the internet in regards to this matter.
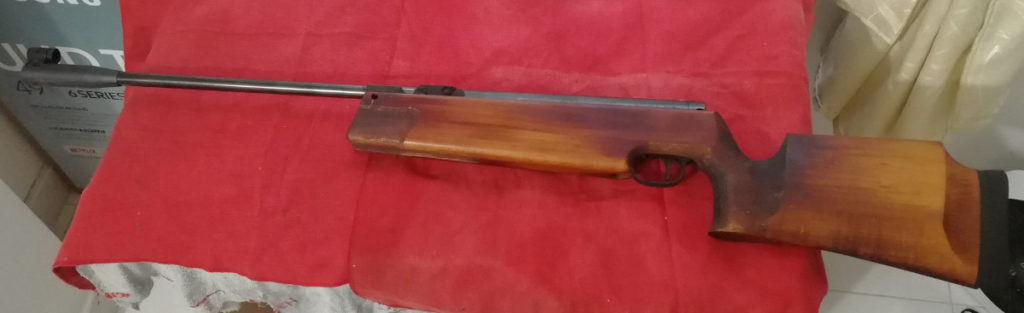
Walther LGR 10 Meter Air Rifle
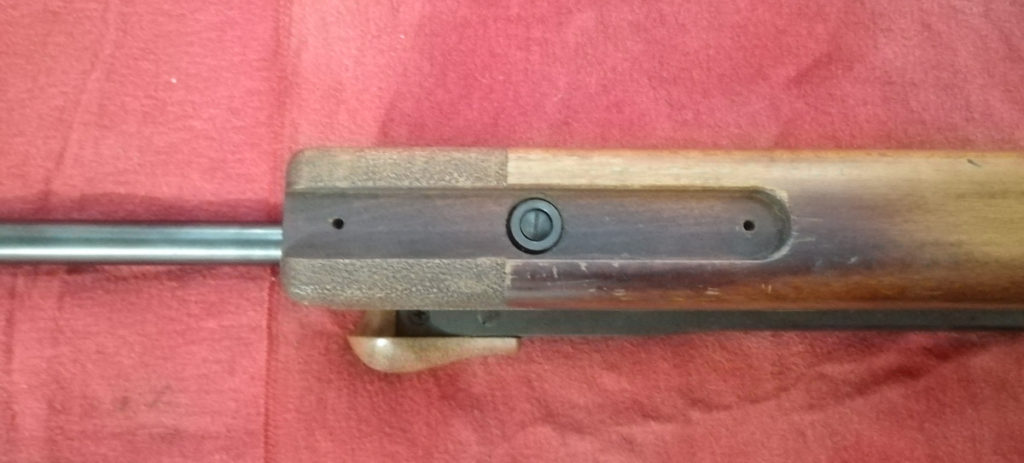
First order of business – to remove the stock from the barreled action.
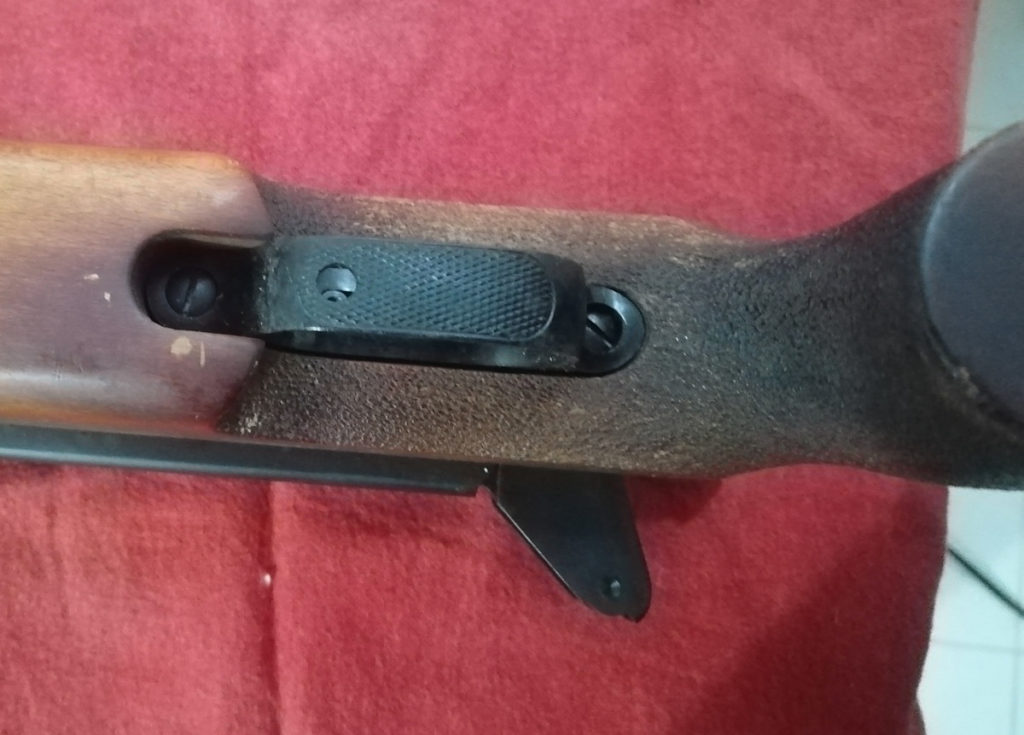
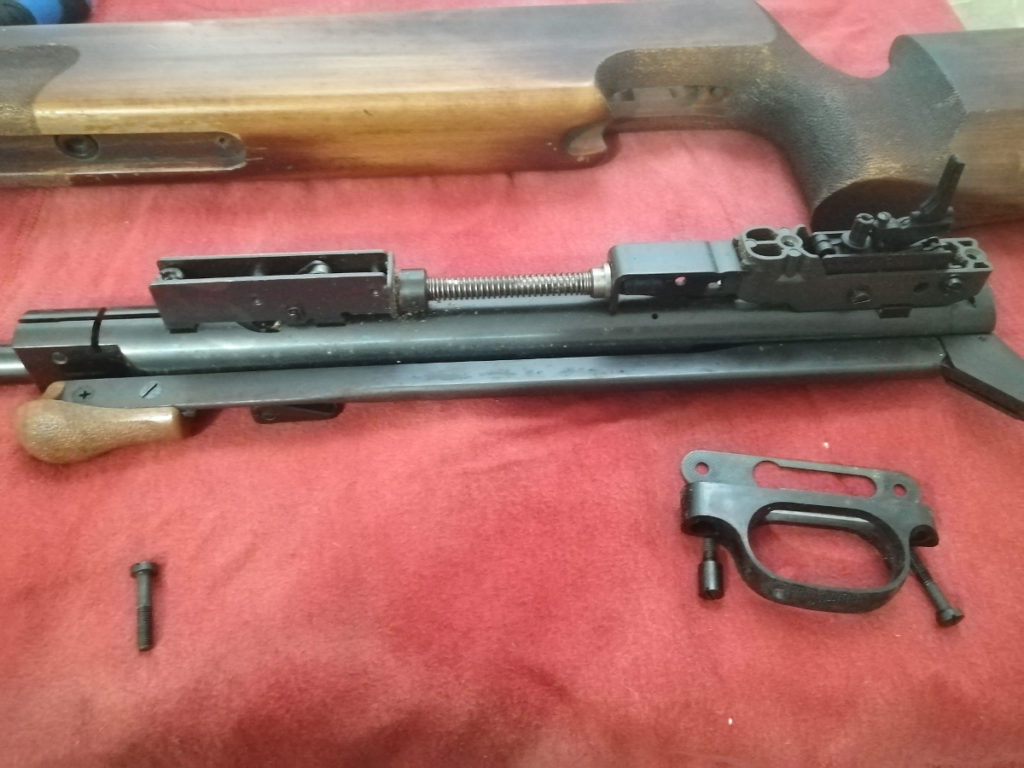
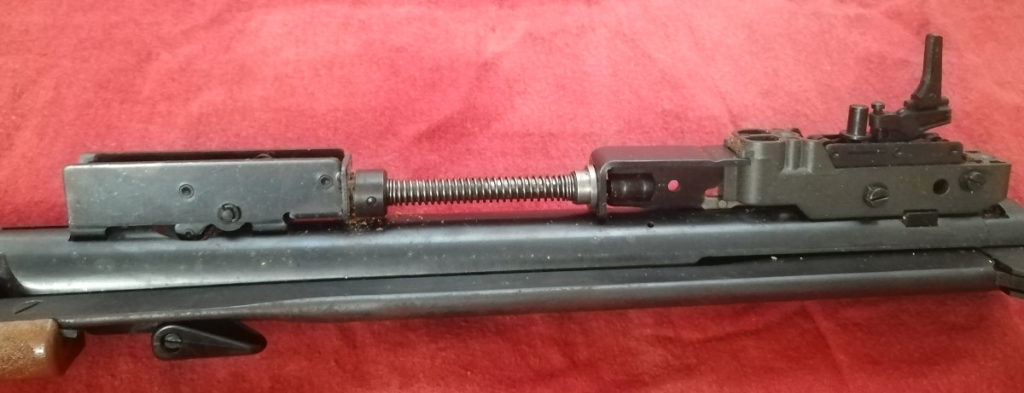
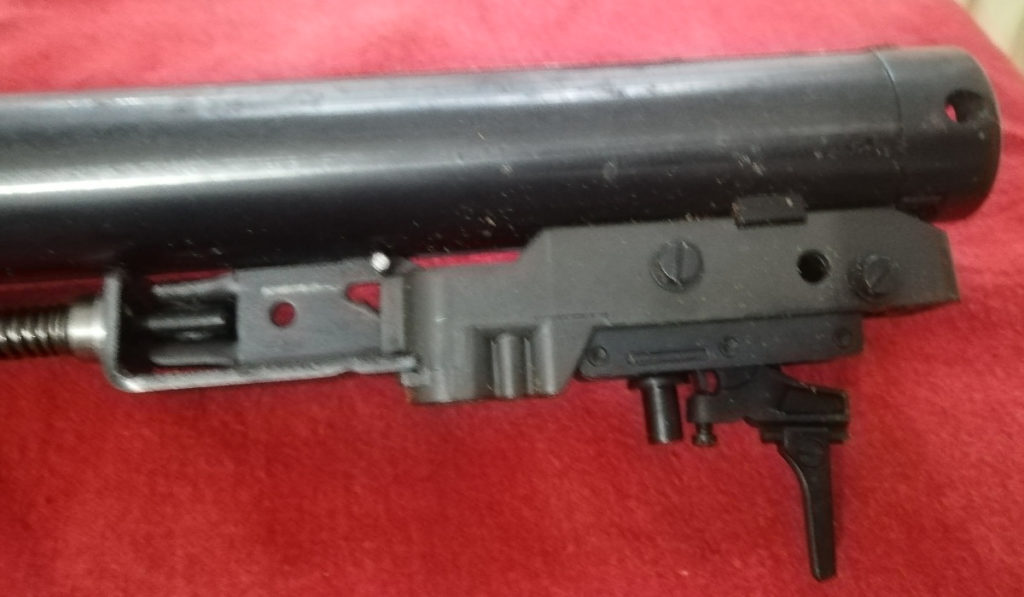
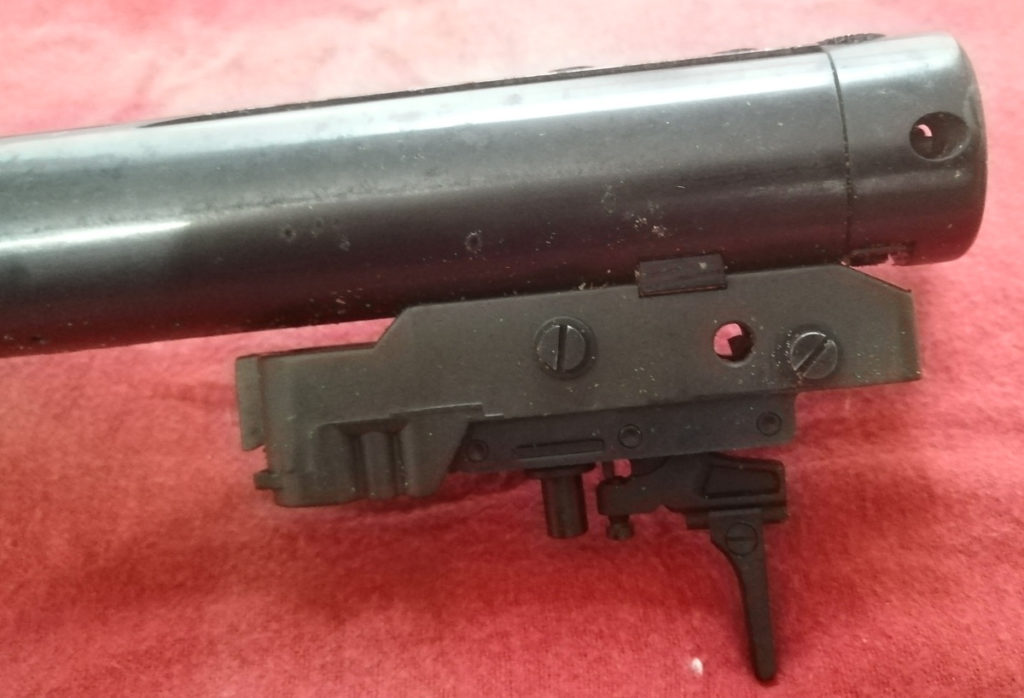
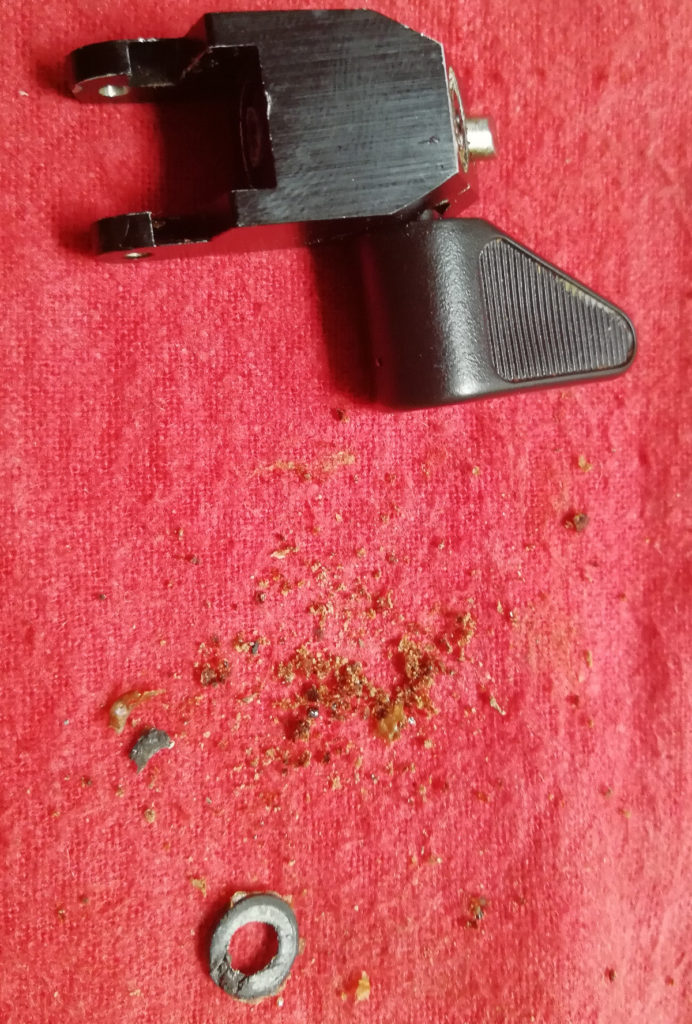
Remove the screw from the front of the stock – keep an eye on that screw cup, it’s probably loose and can fall and get lost. Remove these two screws from the trigger guard.Here’s a look at the barreled action, note the screw cup in the front of the stock, no I didn’t loose it, but did remove it and placed it with the screw on the table.Closeup of the trigger and valve release mechanism. Note the disintegrated buffer between the valve release and the mainspring.
Due to improper oils (back in the day there were no proper lubricants in this area, folks use 3 in 1 oil, firearms oils and others that were damaging to seals), the seals and such in this rifle were all destroyed.
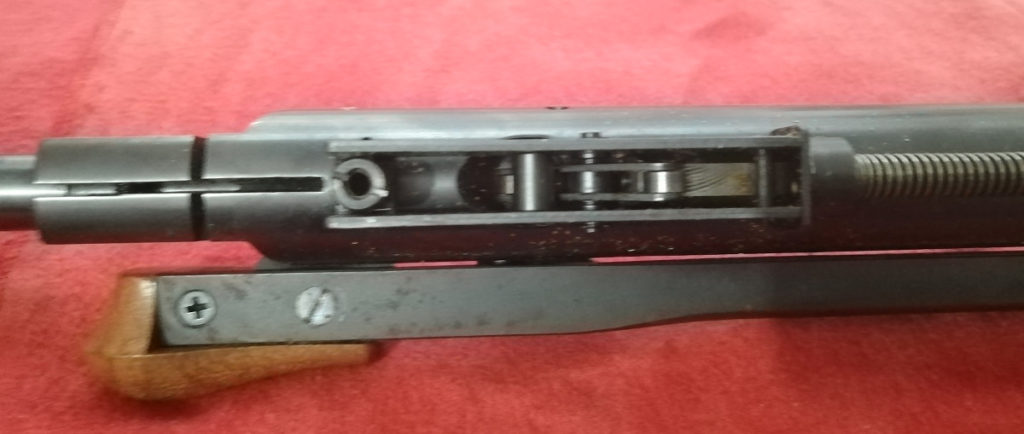
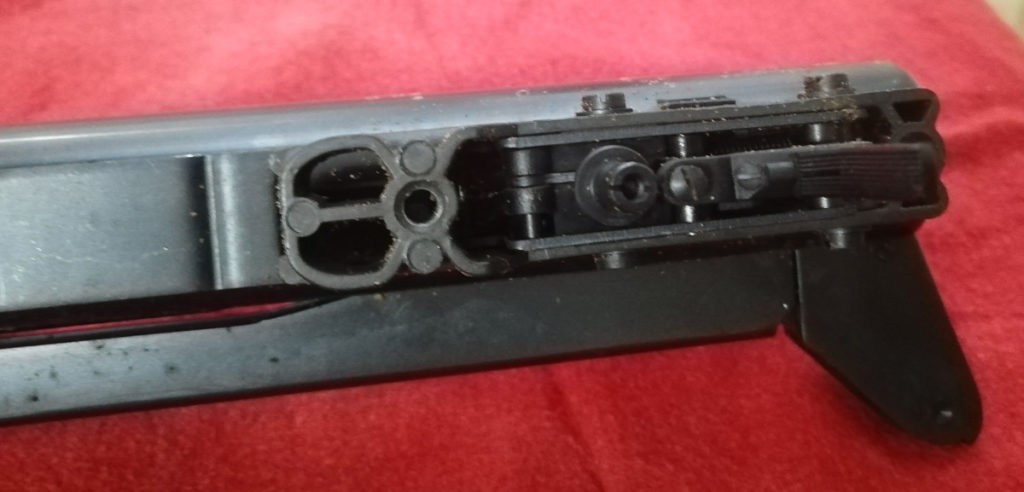
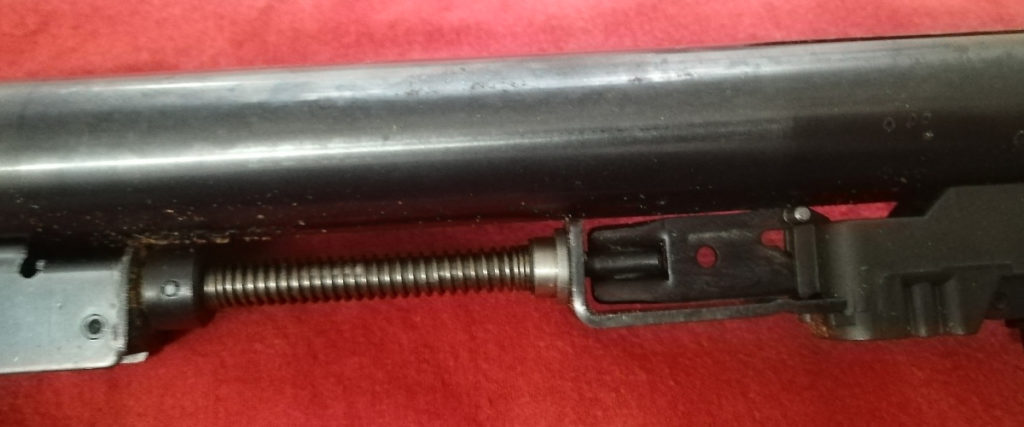
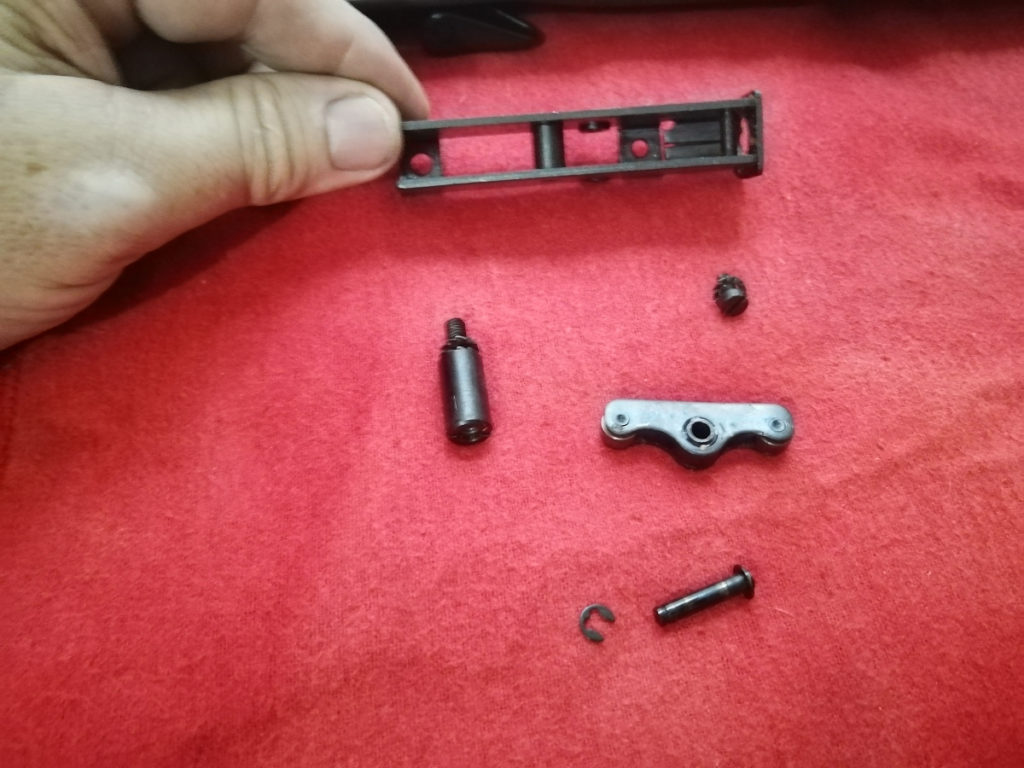
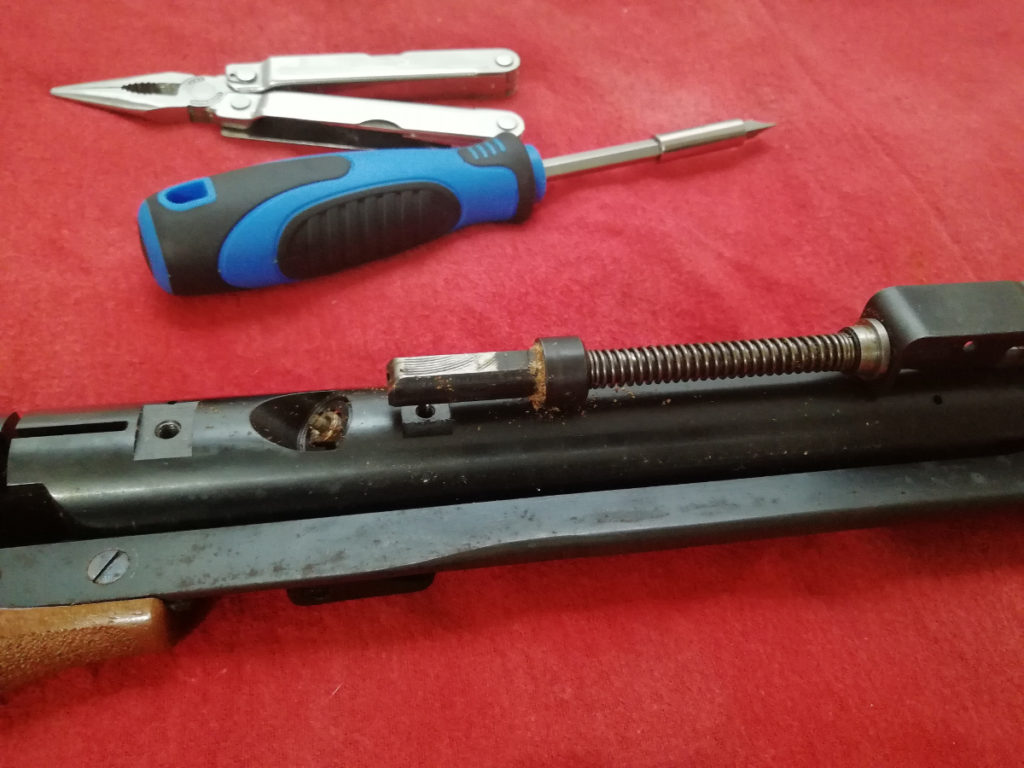
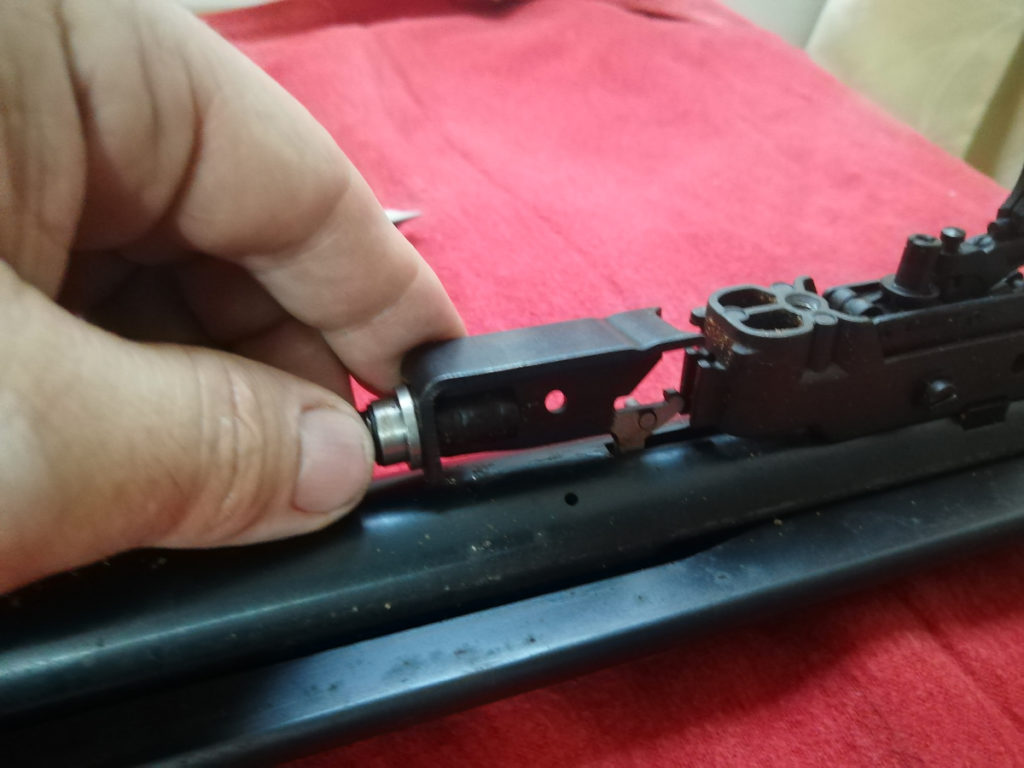
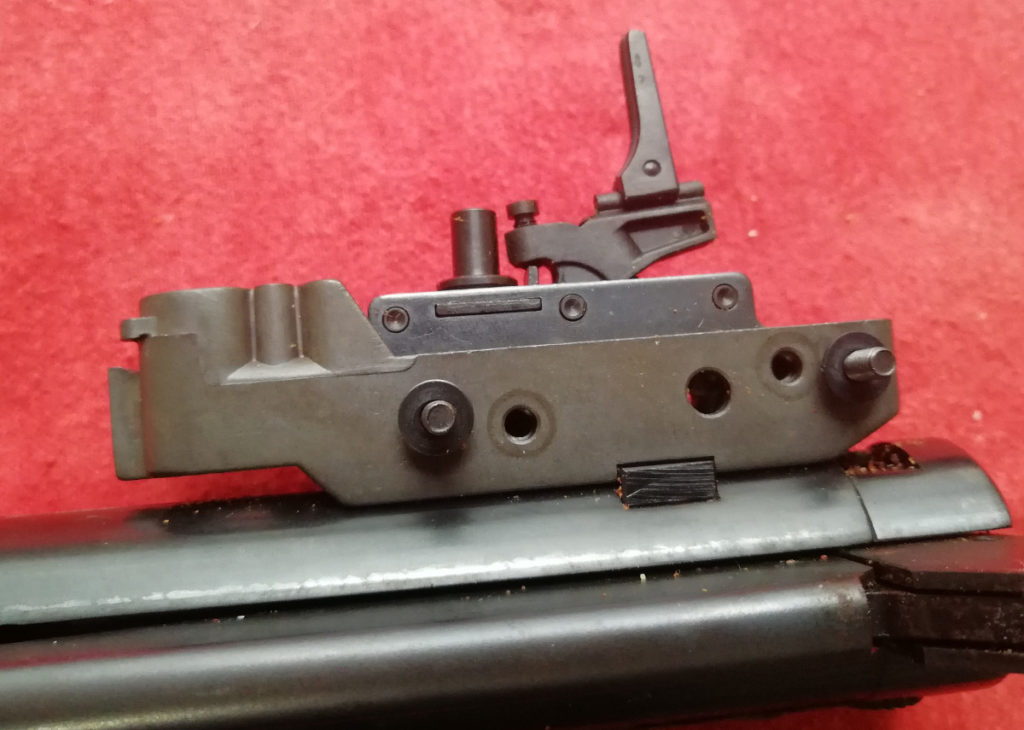
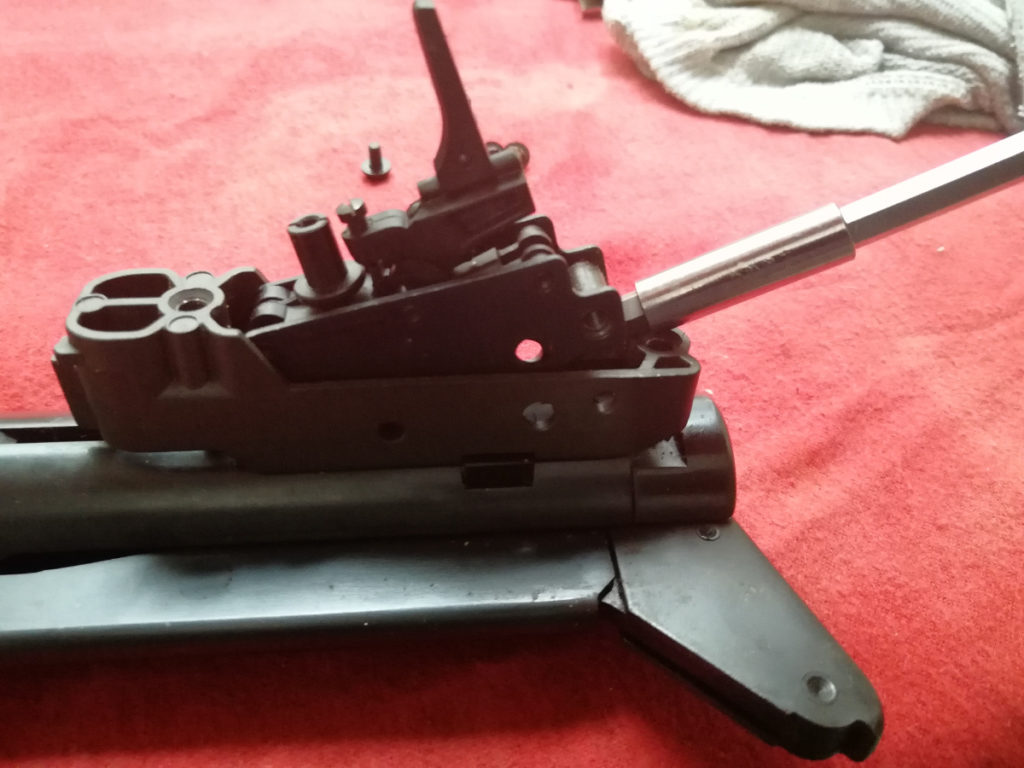
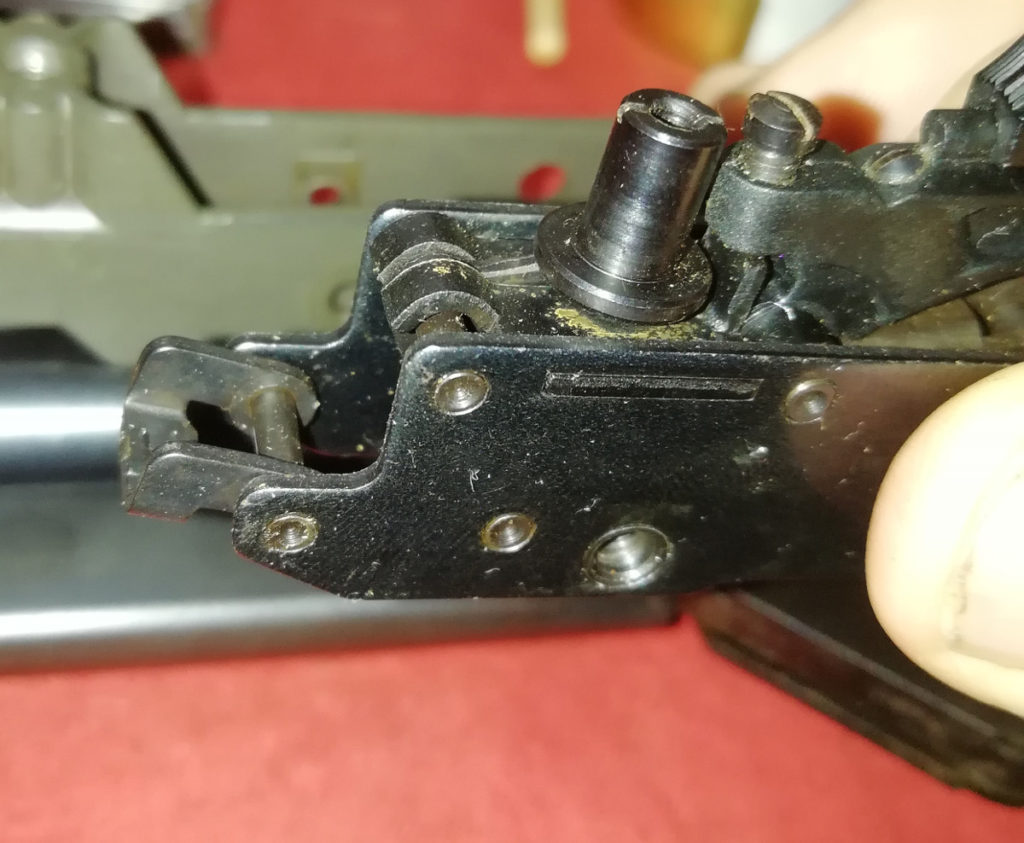
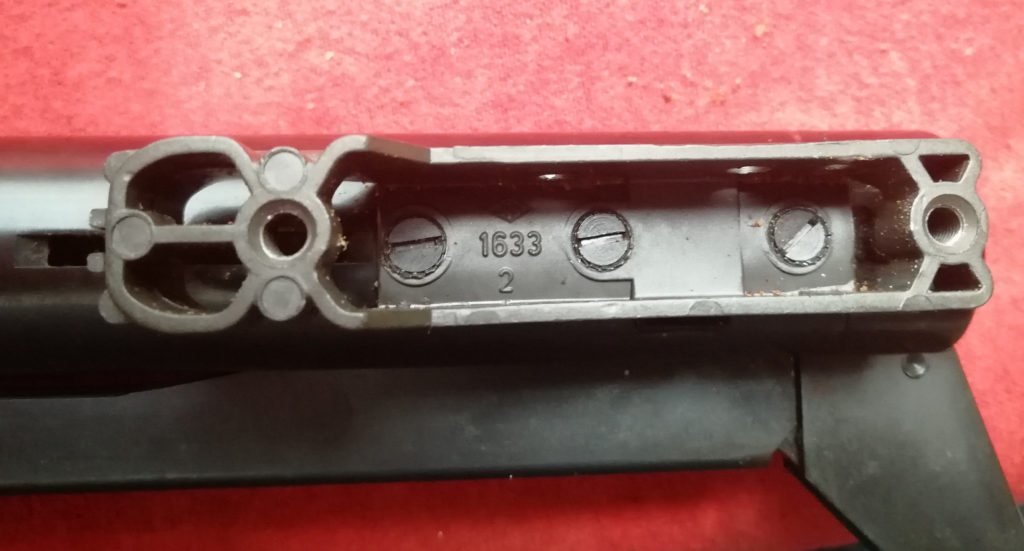
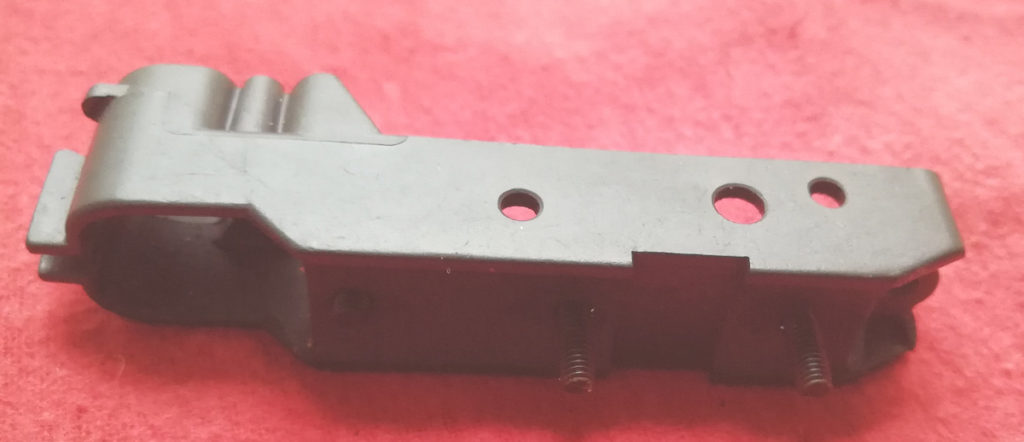
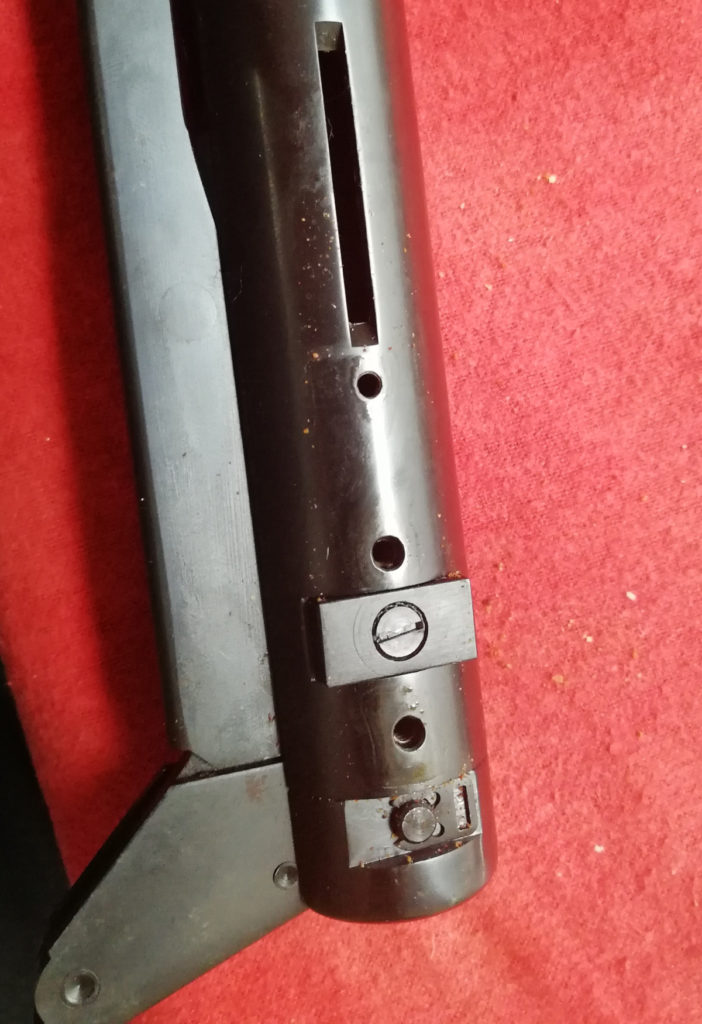
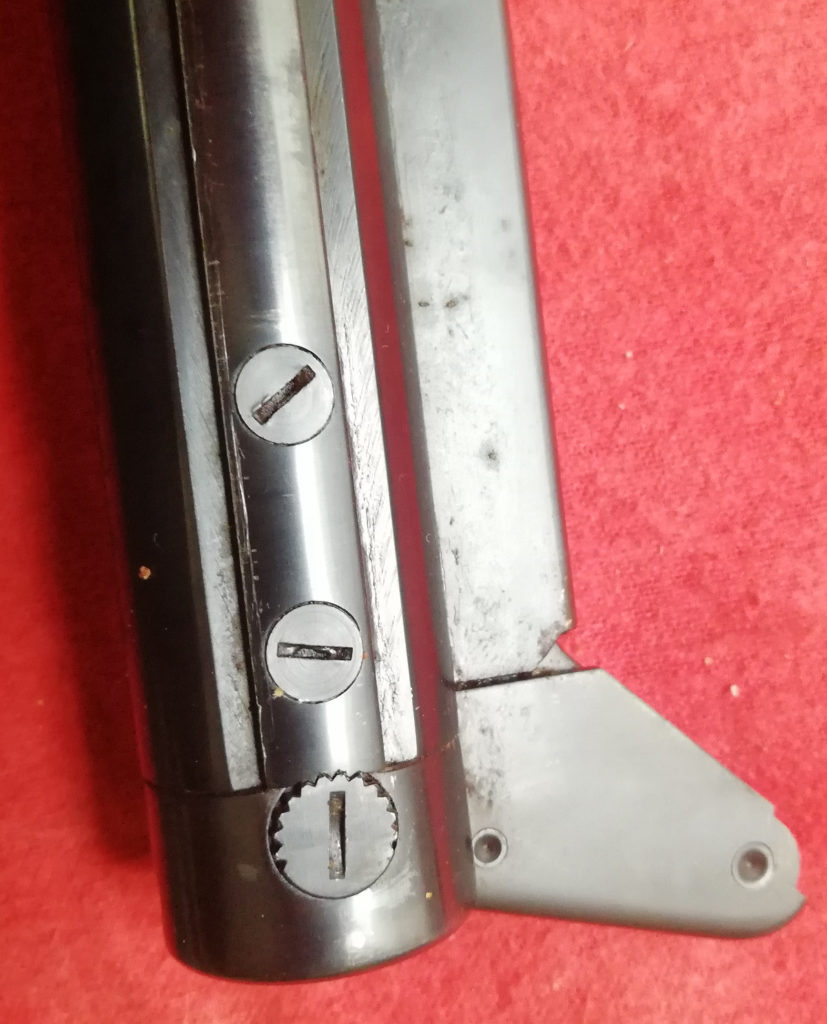
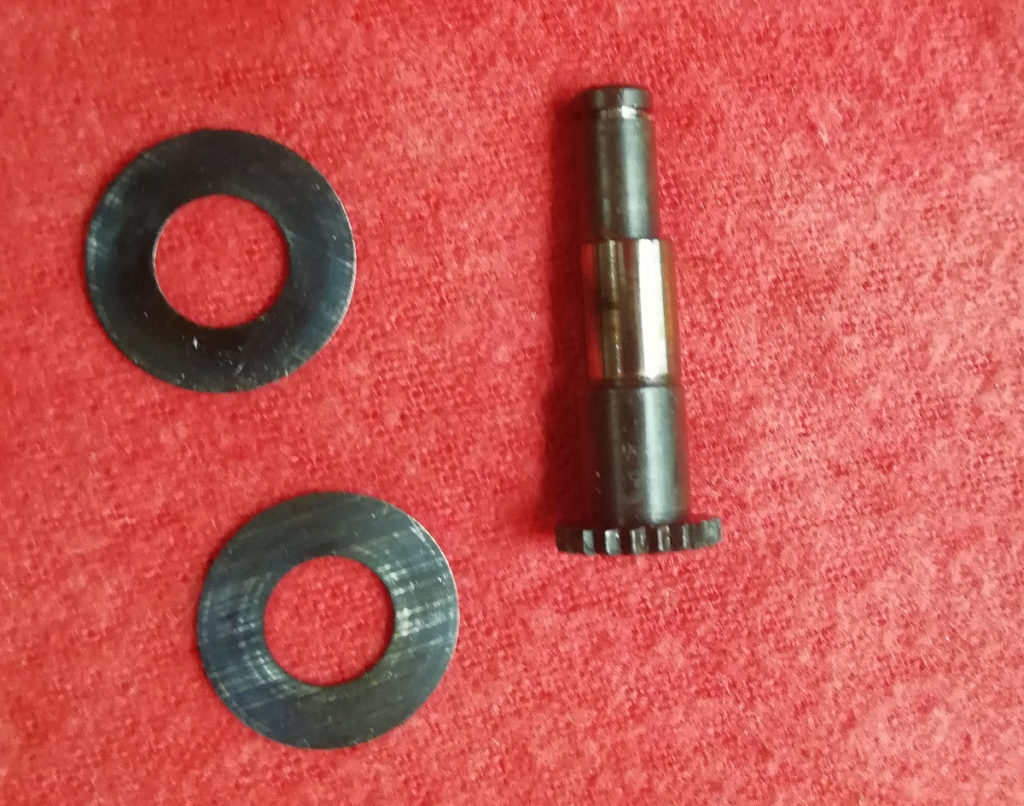
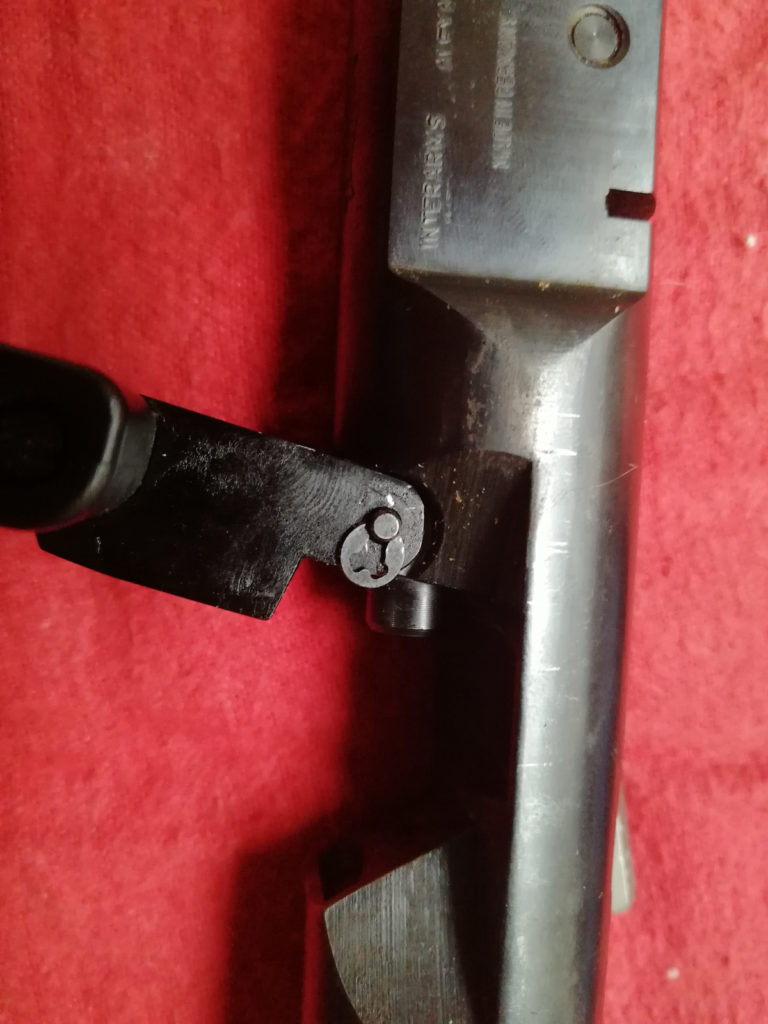
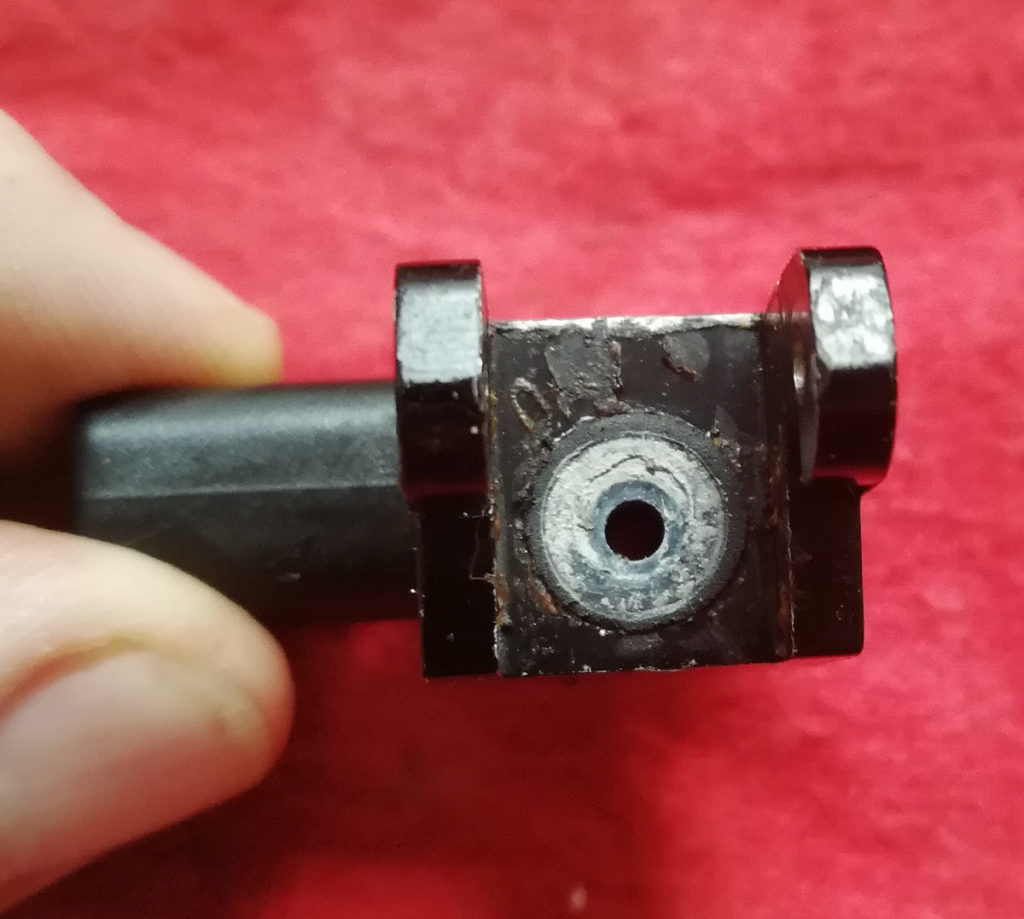
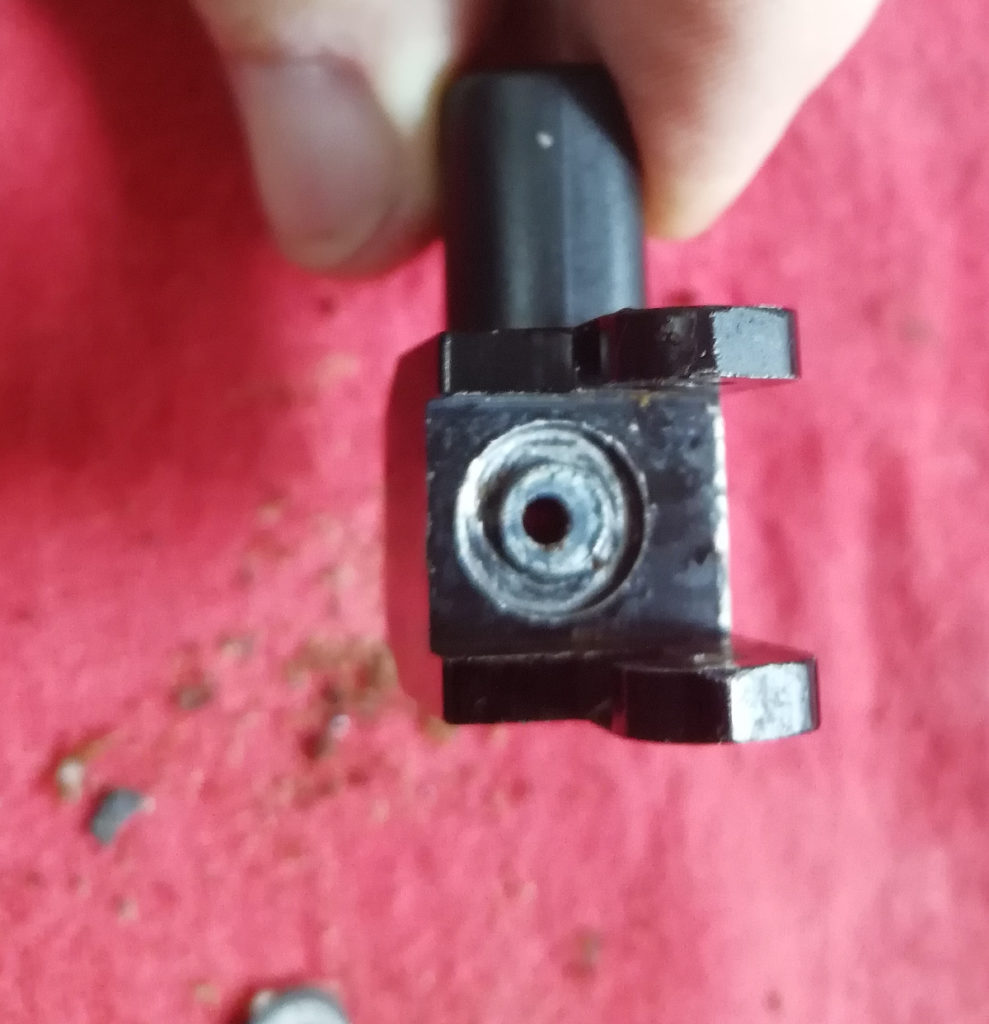
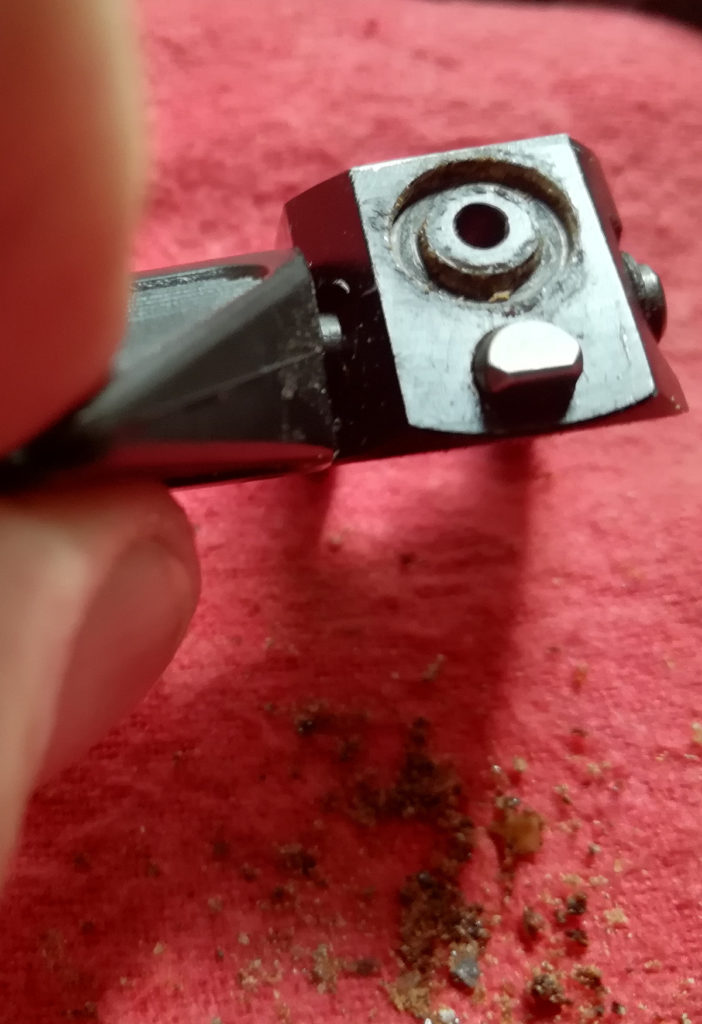
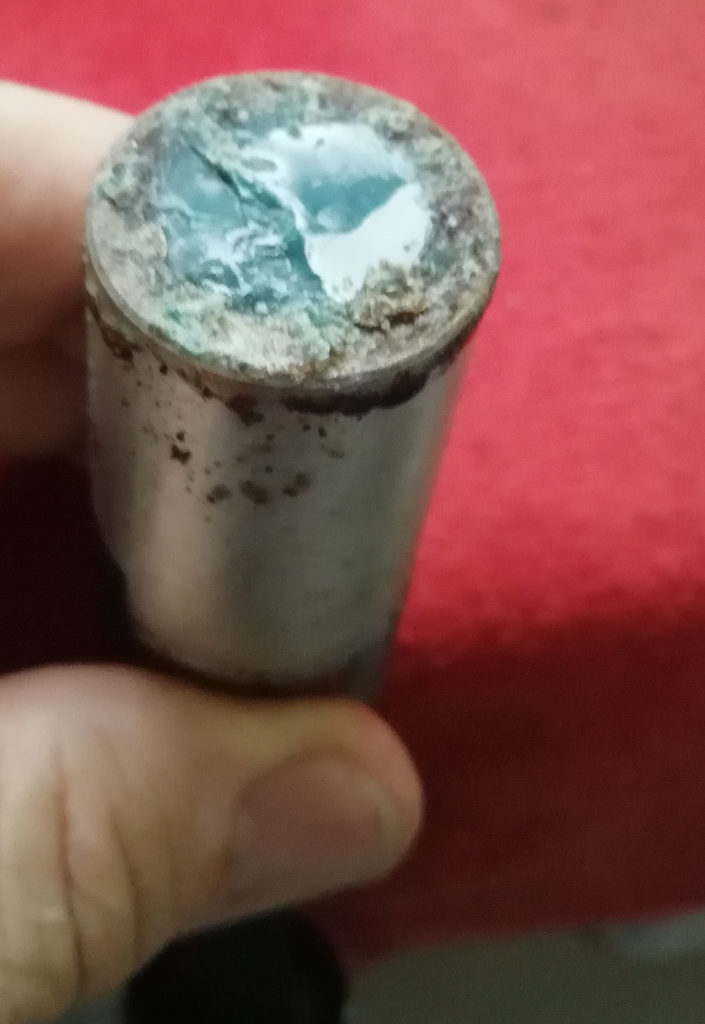
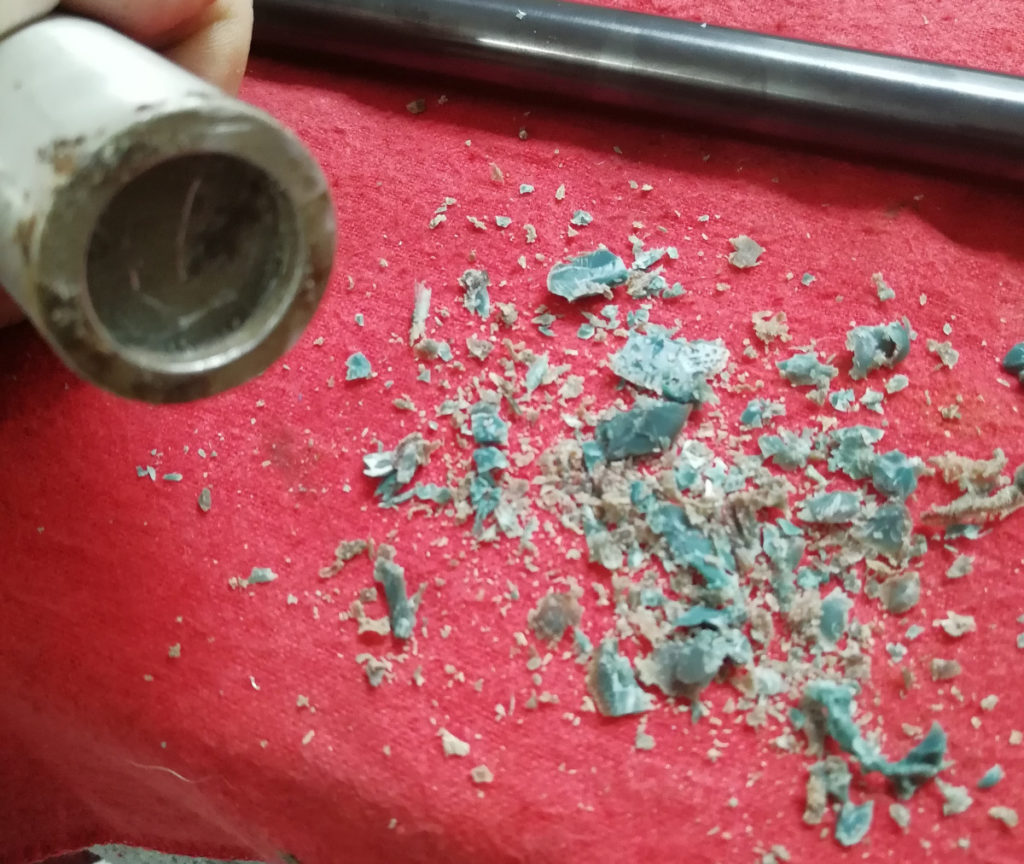
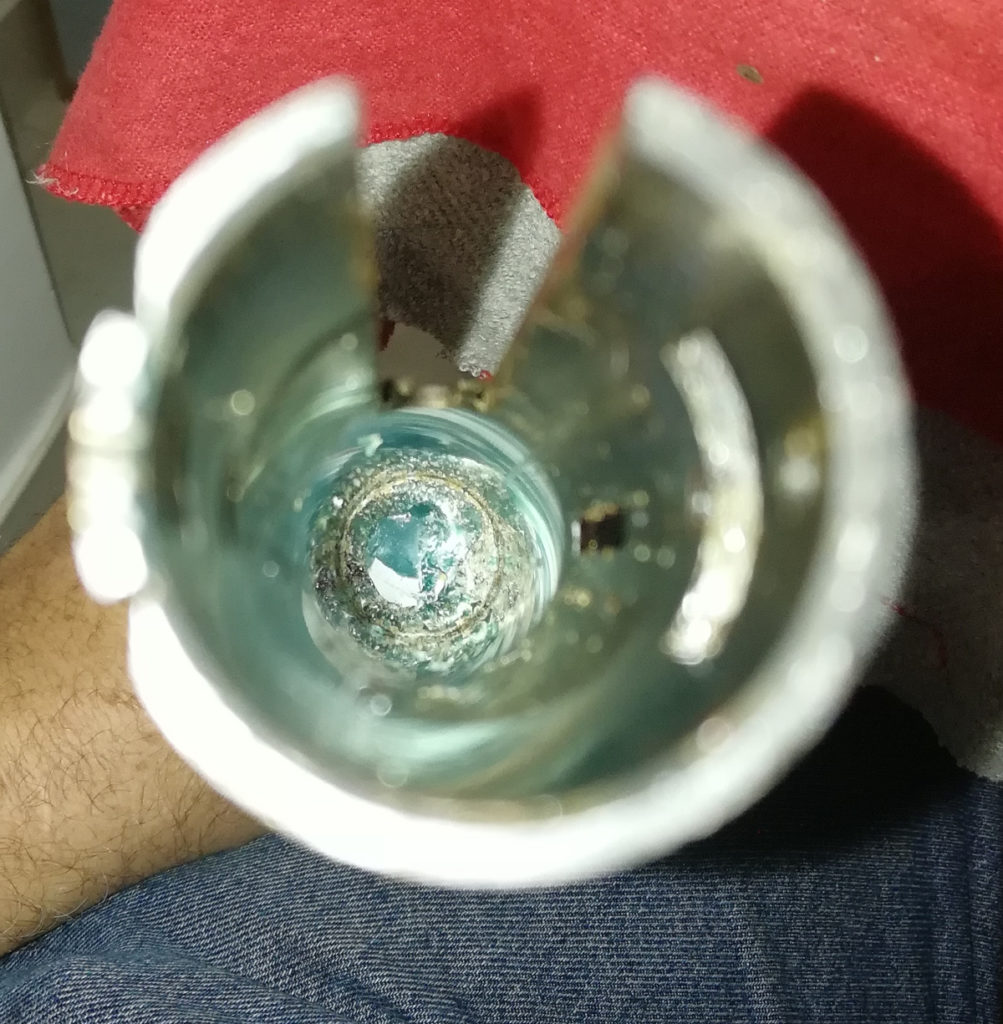
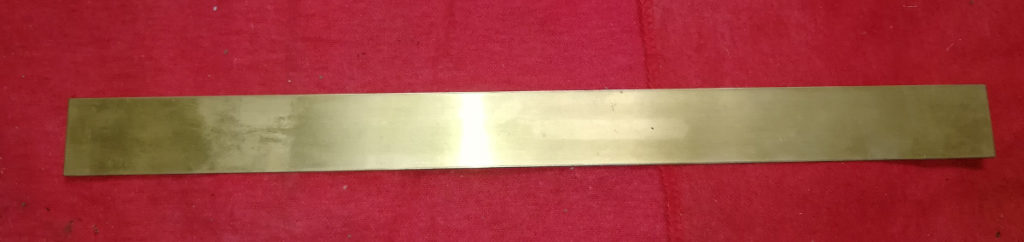
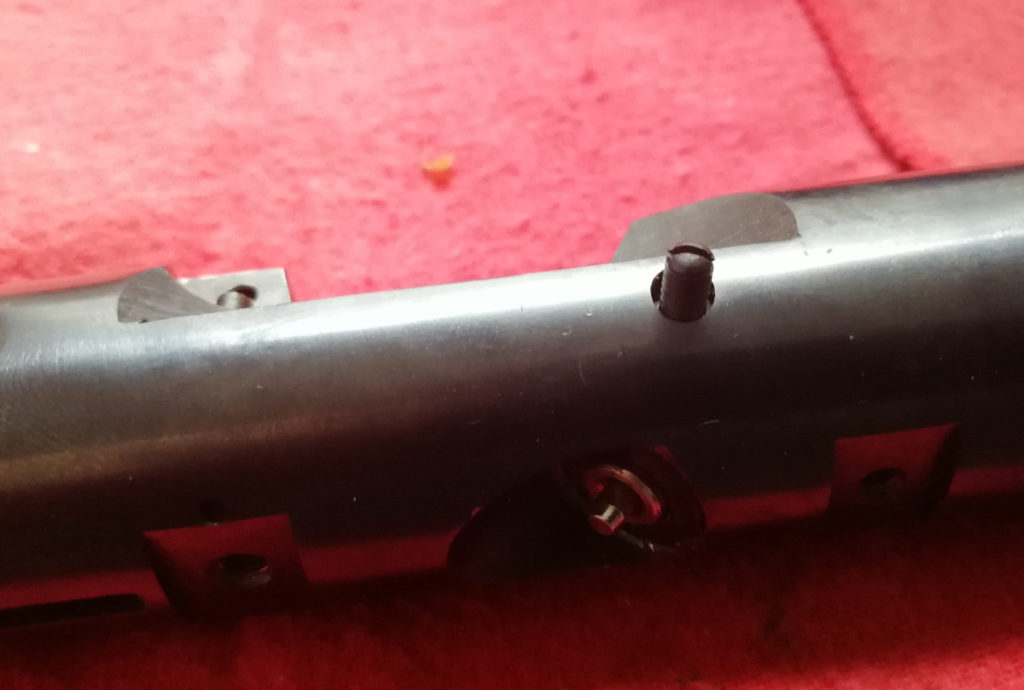
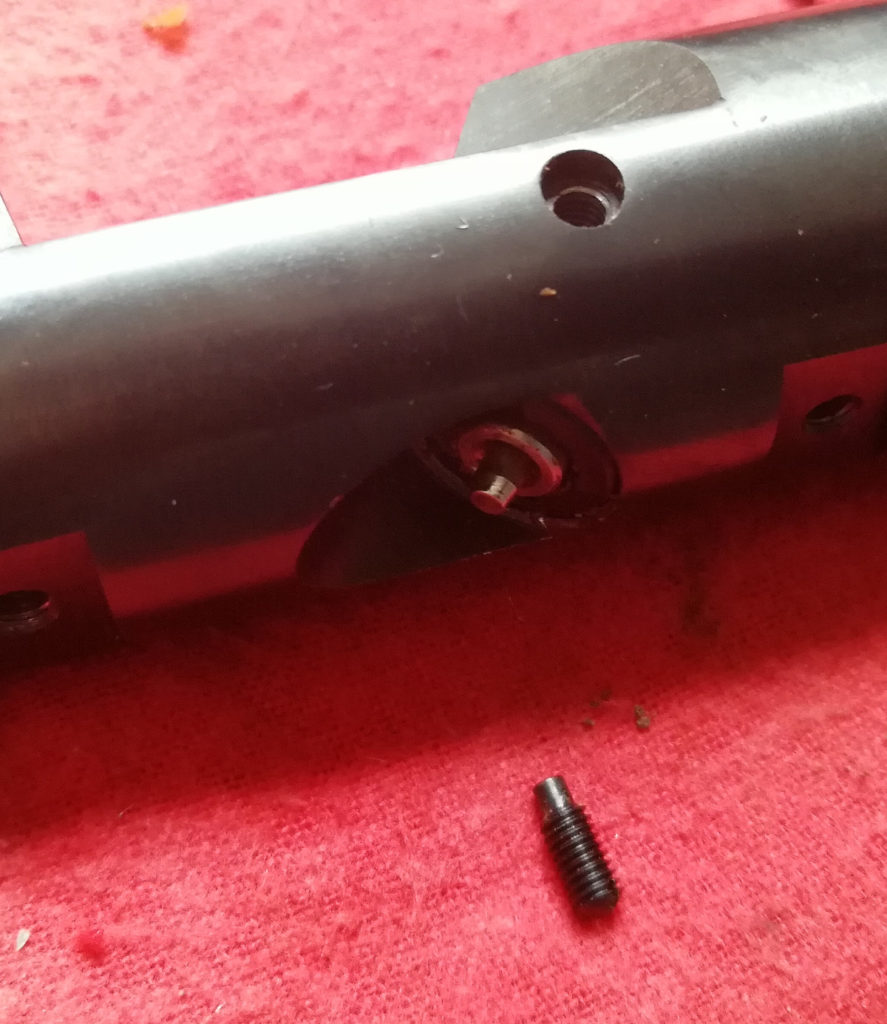
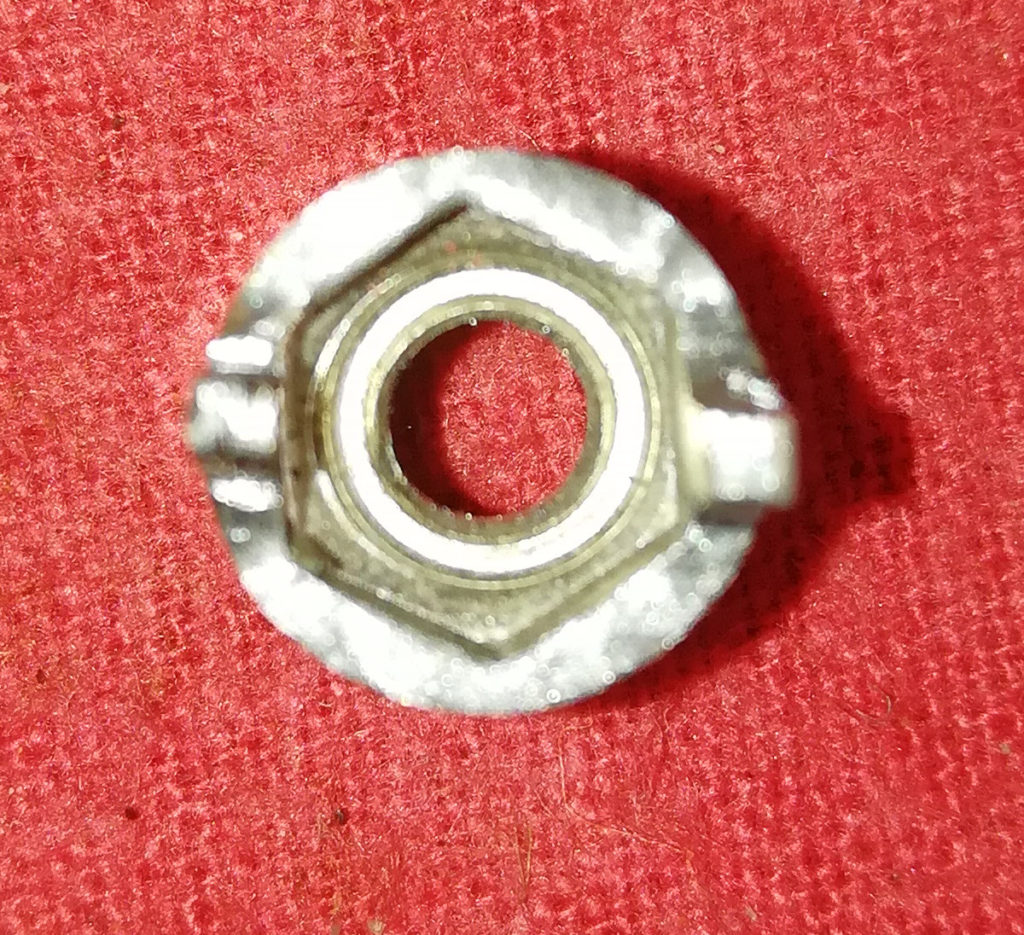
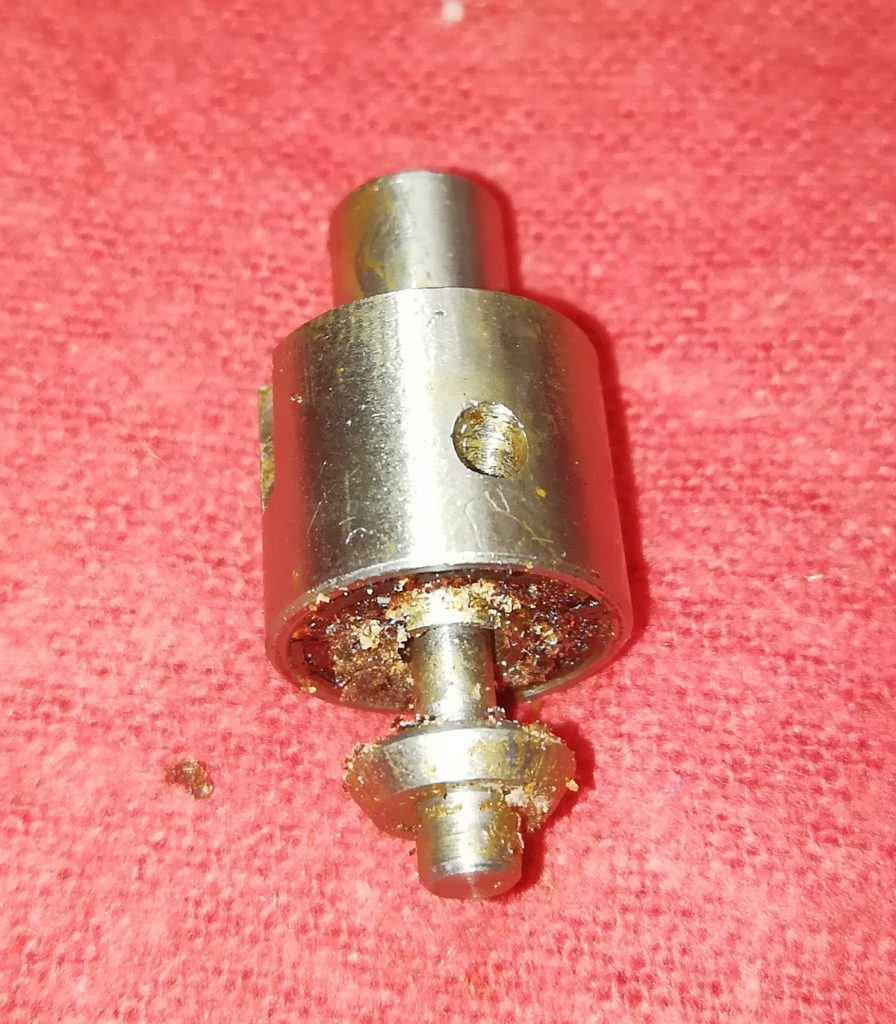
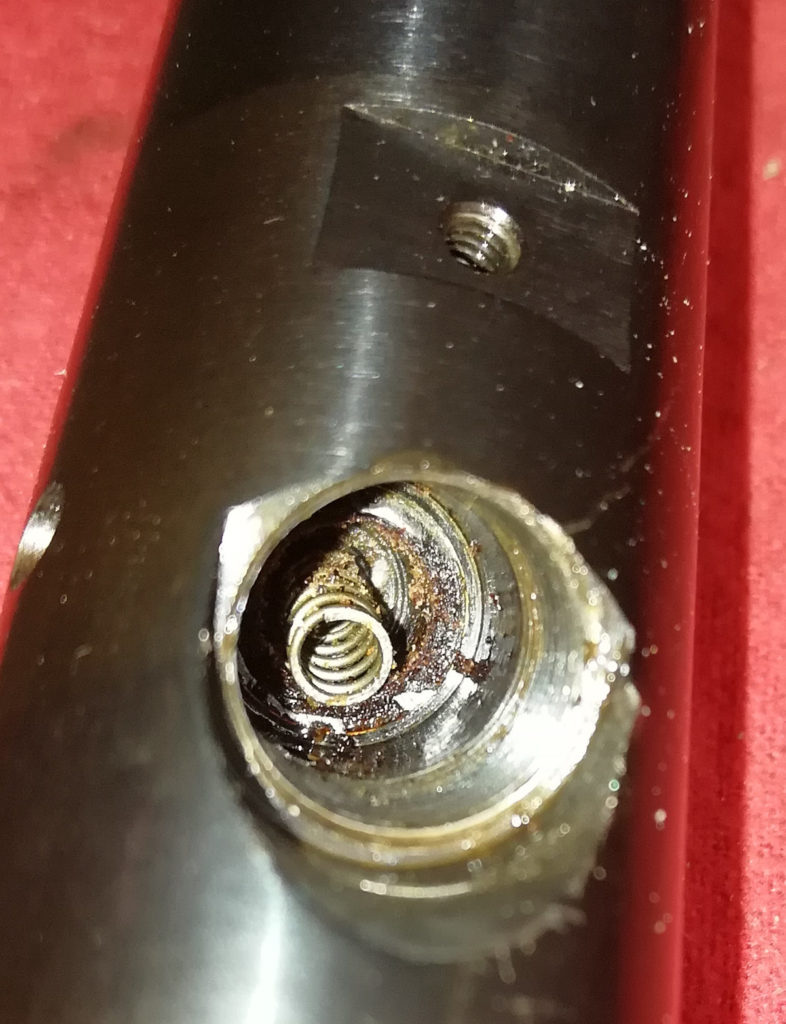
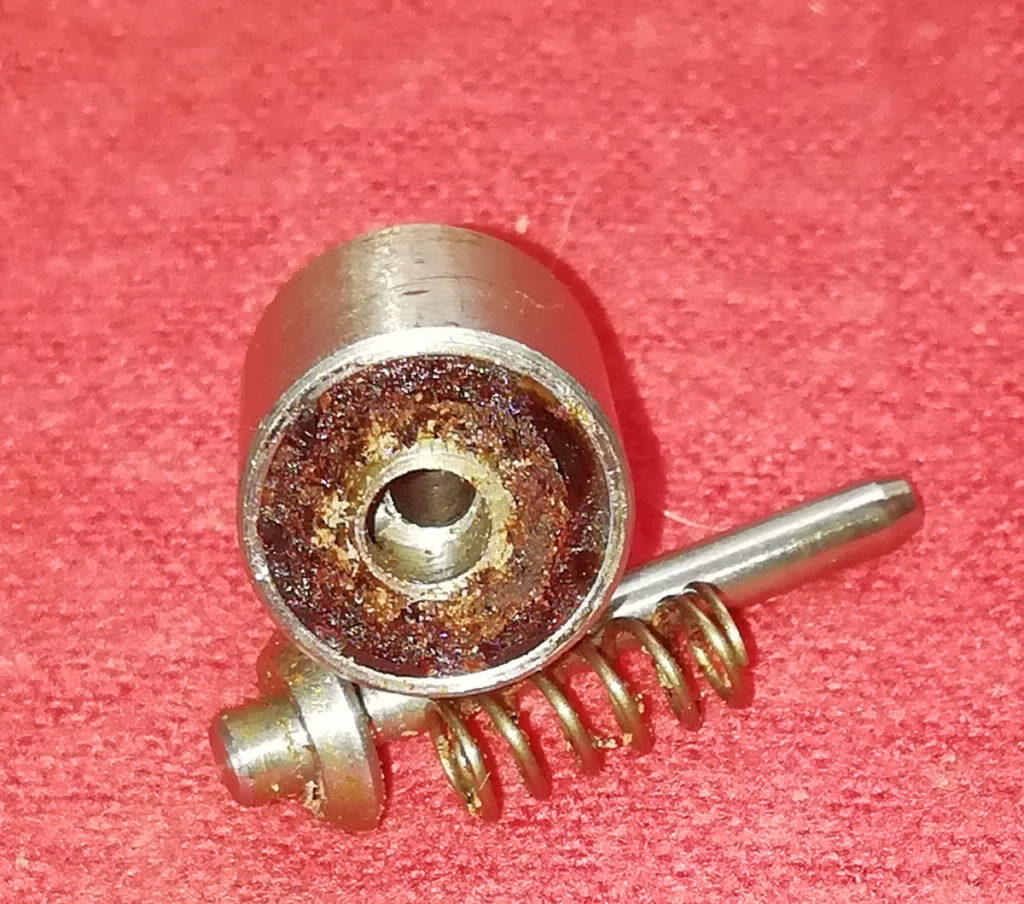
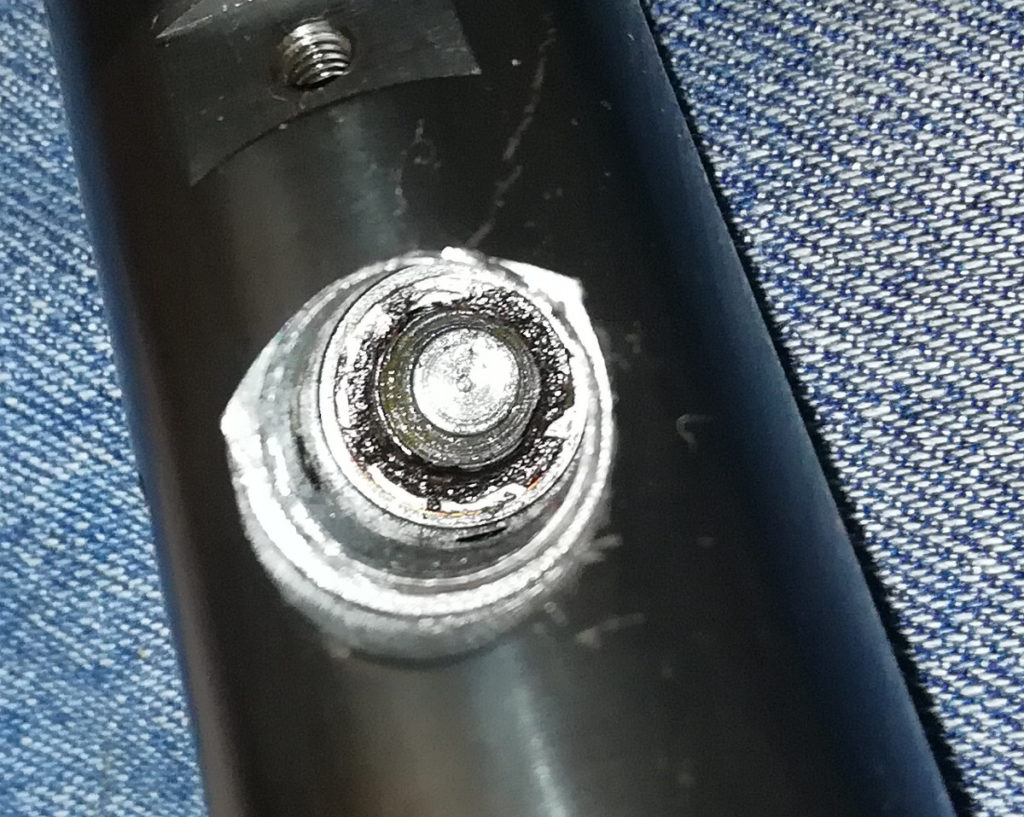
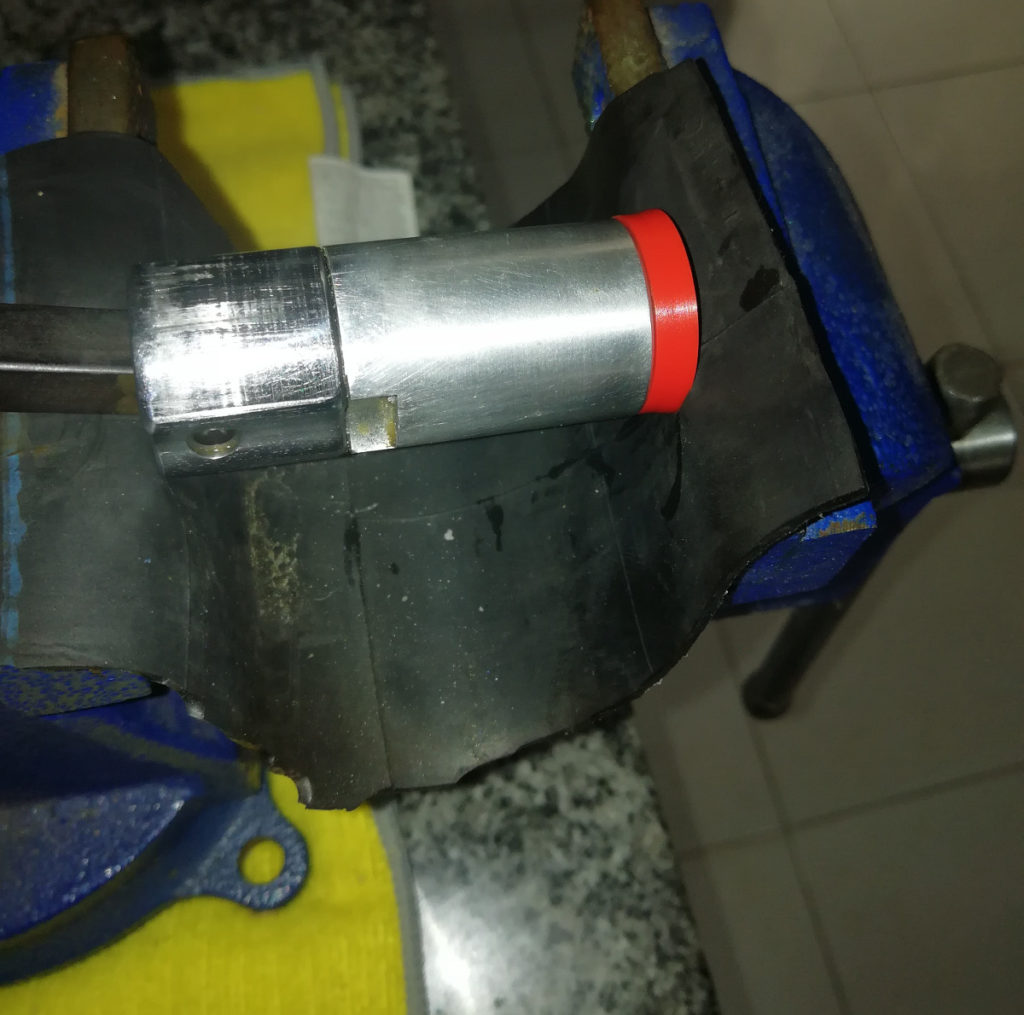
Bottom view of the valve release mechanismbottom view of the trigger housing and trigger groupSide view of the trigger group and housing.Close up of the connecting rod and main spring.Cock the rifle by pulling the handle all the way to the rear. Remove the c-clip and the rocker pin, remove the rocker and then the two screws.Carefully release the trigger, controlling the connecting rod with a rag or something to keep it from flying away.Lift the connecting rod mechanism up and away from the trigger group housing.Side view of the trigger housing and trigger group. Note that the trigger group is held in place by four screws, two on each side.Remove the screws, note they each have a washer.Carefully pry up the rear of the trigger group and remove it from the housing.Note the position of this piece at the front of the trigger group – it needs to be in this position when you reassemble the rifle.Remove these three screws.Note that the shortest screw goes at the front of the trigger group housing upon reassembly.Remove this clip and this screw from the bottom of the barreled action.Only the front two are screws, the rear one is an eccentric pin for adjusting the tension of the piston assembly. The screws can be tough to remove. You can apply heat with a heat gun or propane torch – carefully. It doesn’t take a lot of heat, just enough to help break them free. Choose your screw driver carefully, you don’t want to mess them up.Note the presence of these washers when removing the piston mechanism. Here’s a look at the contact section of the eccentric pin.Carefully remove the c-clip on the loading port hinge pin, they can fly a long way (don’t ask me how I know)Note the barrel seal is completely destroyed by improper lube and being stored with the port closed.The same applies to the seal on the transfer port end.The seal came out in bits and pieces. A brass pick tool helps to protect the port cover while allowing one to thoroughly clean it from the old seal.Barrel end of the loading port cover.Transfer port end of the loading port cover. Note the heavily crystallized seal remnants – use seal friendly lubes onlyThe front of the piston seal got stuck to the front of the chamber, this is all that came out with the piston.It took a lot of «elbow grease» to clean out the front of the piston. There’s a lip around the front of the piston to help retain the seal. This must all be thoroughly cleaned prior to attempting to seat a new piston seal.Note the piece of piston seal that was stuck to the end of the chamber.A piece of flat bar stock made of brass makes a good tool to help remove any bits of deteriorated piston seal. That and some carburetor or brake cleaner or other good solvent to clean down to bare metal.Loosen this screw – it helps retain the valve in its proper position.You can see the portion that goes into the groove on the side of the valve. It can be a bit fiddly to reinsert the valve and line up the screw upon reassembly.A socket can be cut like this to allow you to remove the valve retaining collar.A hex-sided socket works just about perfect, just match up the outside diameter of the socket with the diameter of the retaining collar. A dremel tool or similar with a cutoff wheel works fine for this job.The valve slides out but you may have to use needle nosed pliers to pull it.There’s a spring in there, too.Here are the three pieces of the valve, note the deteriorated valve seal.After cleaning you can see the corrosion in the compression chamber from years of shooting and allowing the moisture to remain inside. Each time you work the pump, the humidity in the air condenses on the inside of the valve. Over time this will cause damage like this.All surfaces need thoroughly cleaned. Note the remnants of the loading port cover seal left around the transfer port. Carefully scraping and cleaning with appropriate solvents helps this area to seal again.The piston seal can be tough to seat properly. I found that neither boiling nor freezing it helped. What worked was to lube the piston with pure silicone oil then place the seal on the end and tighten it up in a vice like this. Note the piece of an old inner tube to protect the piston and the seal. DO NOT REMOVE THE RIVET THAT HOLDS THE PISTON ON THE ASSEMBLY. doing so will cause that rivet to be too loose and will result in scarring of the compression chamber.
Place the piston well down in the vice jaws, with the rod being raised at an angle to allow it to seat as far down in the jaws as possible. I left the piston cocked just a bit, out of horizontal. Tightening the vice and releasing it slightly, then doing it again, allowed the seal to gradually be seated fully into the front of the piston.
Reassembly is in reverse order. I used a bit of FWB «Special Grease» to lube the piston. The valve should NOT be lubricated. It works best dry. The eccentric pin can be placed like you removed it, but go ahead and try different orientations to get the one that works best with your new seal.
Walther LGR Online Resources
Here are resources I’ve found that are current as of February 12, 2019
I purchased the parts for this rifle from John Knibbs International. They sent the parts to the wrong address and never answered a single email. I was able to track down the parts, no thanks to Knibbs. Buyer beware. Once they got here, they seem to be good. Time will tell how they last. The lack of attention to the customer soured me on them, however.
For a complete rebuild you’ll need one piston seal (I ordered the 10.7 mm one, no sizing needed in this rifle), one valve seal and two breech seals. I only ordered one breech seal and ended up using an o-ring on the transfer port side of the cover.